Bass trap tubes - need help & ideas

MartinLogan Audio Owners Forum

Help Support MartinLogan Audio Owners Forum:

This site may earn a commission from merchant affiliate links, including eBay, Amazon, and others.

kach22i

Well-known member
Joined
Mar 6, 2005
Messages
1,865
Reaction score
12
Location
Michigan
Bass trap tubes - need help & ideas

The Situation
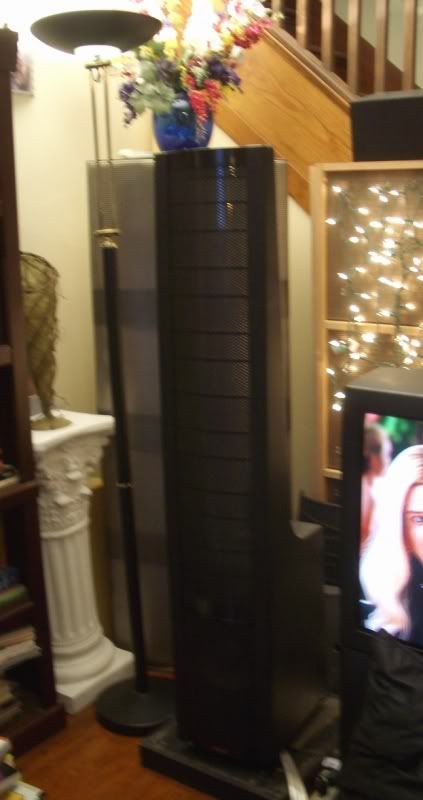
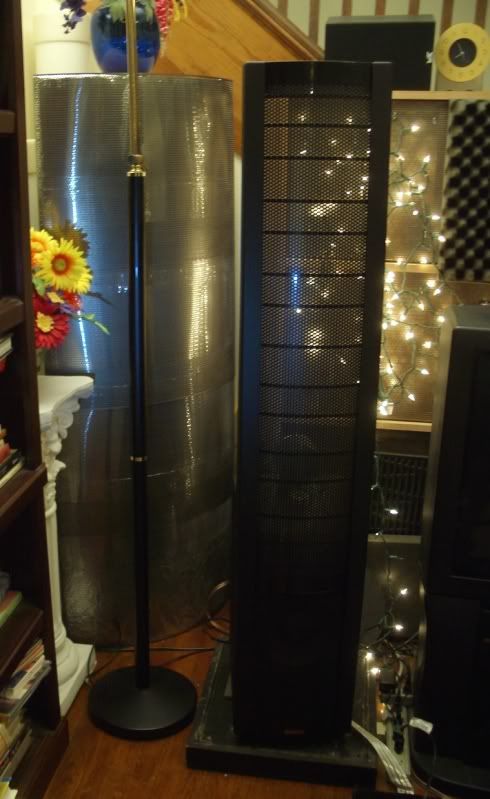
I have a problem with bass, not a bad one, lived with it for years, but I want to do something about it. The right speaker is in the middle of the room, the left in the corner. Stick my head in the left corner and it's bass rich, like my head is inside of a subwoofer.

The Parts
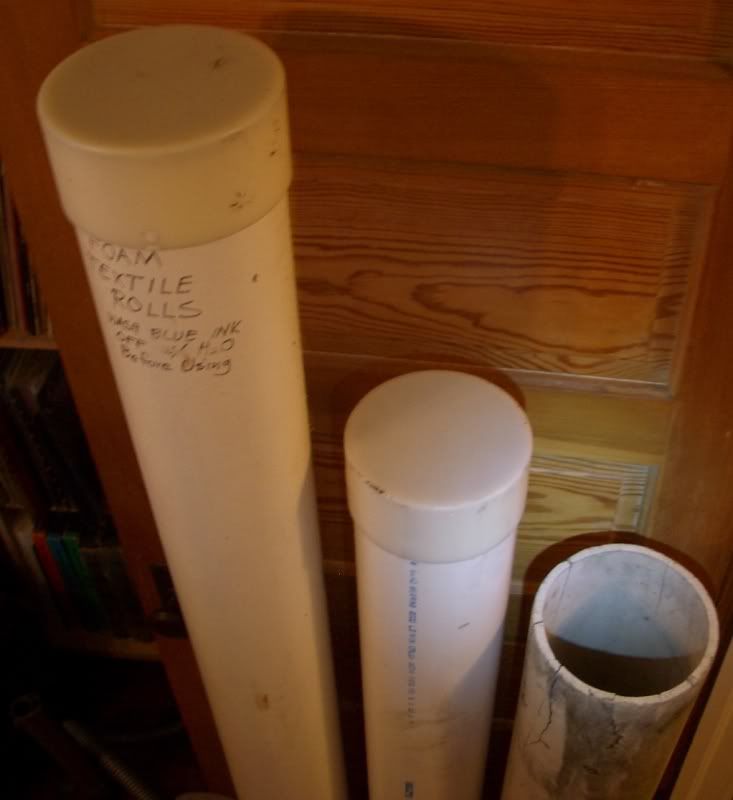
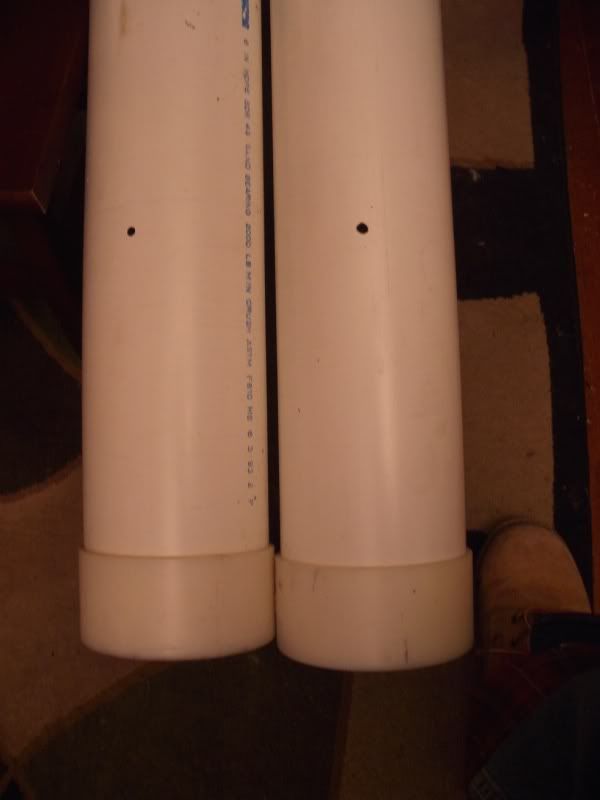
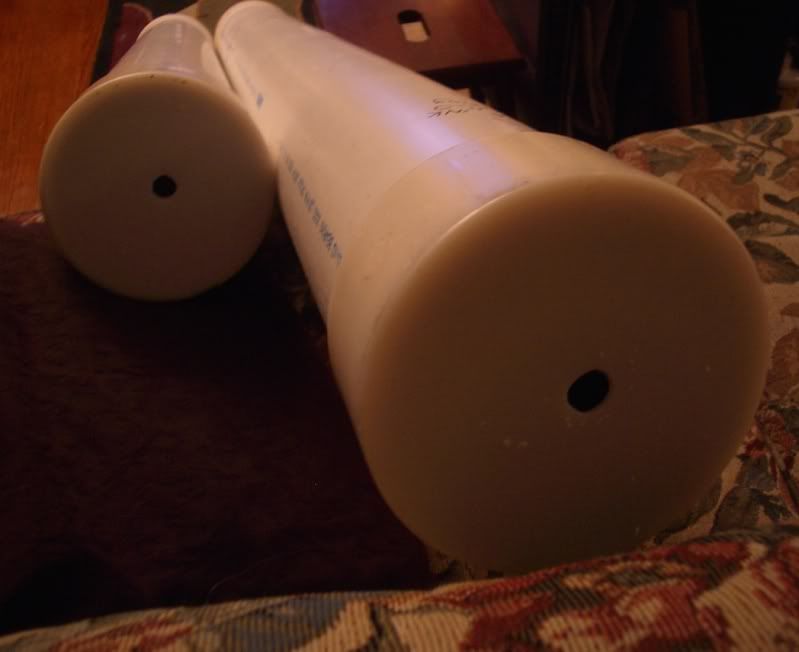
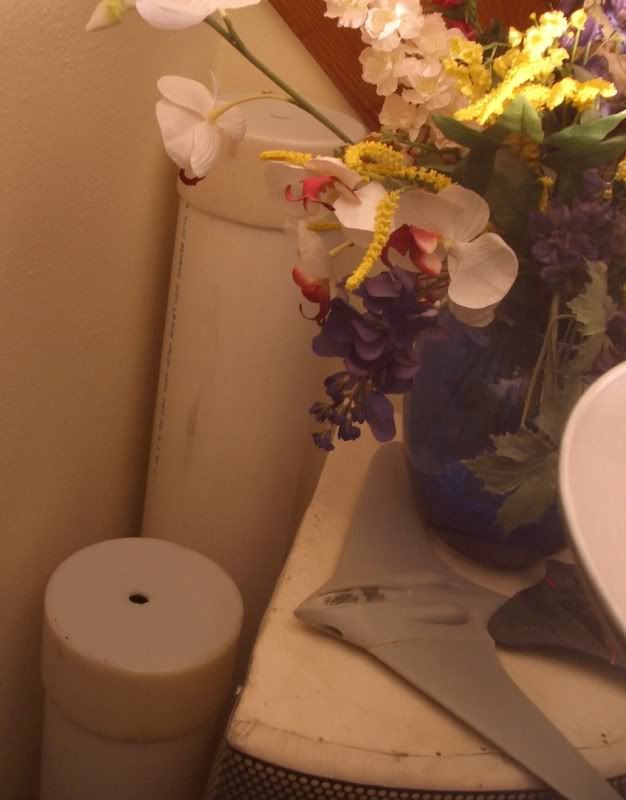
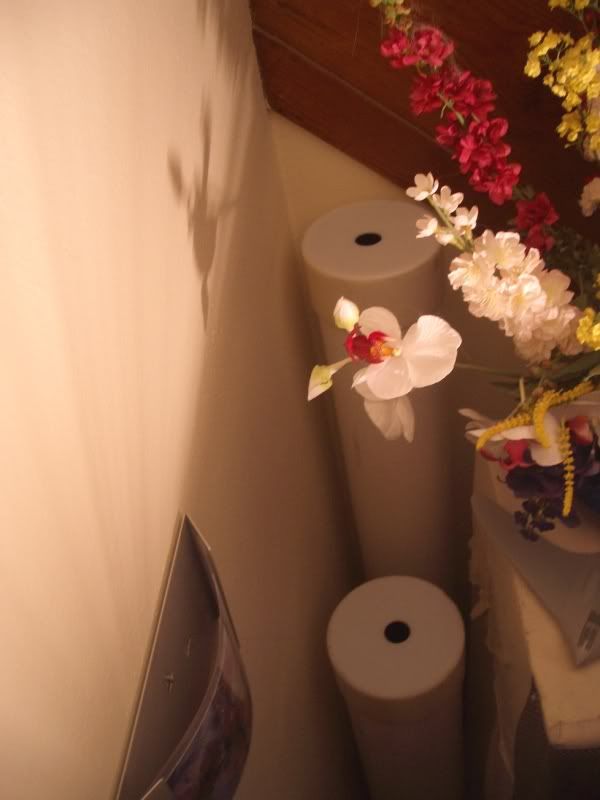
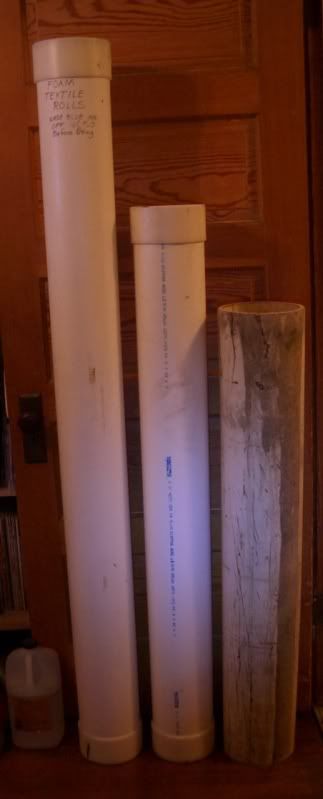
I've collected some PVC tubes, the two tall 6 inch diameter ones are medium thick/thin PVC, the tallest one is about six foot eight tall.

The end caps on the two tall tubes do not come off.

The shortest tube is 7 inch in diameter, fiberglass reinforced very thick and heavy but has some cracks in it near the ends.

In the Room
The quarter round absorber you see in the left corner is more of a diffuser. It is filled with fiberglass batt insulation, open front face, fabric covered with a layer of perforated metal over the fabric. The rear face is covered with 1/2" homasote fiberboard.

The Concept
The concept of a bass trap as I understand it is to allow long up to three foot wavelengths of bass energy into a hole or slot which opens up into a larger cavity. The wave of energy bounces around losing it's energy, and most of it cannot escape back out through the small hole or slot.

The Plan....pending your input
I plan to drill a 1/2" hole or larger in the top end of the two tall tubes. Then drill a 1/4" near the bottom in the side. Through this hole I will spay a modest amount of expanding spay insulation, to fill the lower 6-8 inches of the tube.

The short fat tube will be capped with some MDF plugs (glue, screw and caulk). A 1/2" hole in the top plate, near the bottom plate an entry hole for the straw for the expanding foam.

Placement/ Location
The three tubes will stand straight up behind the existing quarter round diffuser in the left corner.

My main Concern
My main concern is that holes in the top of the tubes will not work as well as placing the entry holes near the floor. I could turn my design upside down and place the entry hole in the side, maybe a foot off the floor. However I would not expect the full length of a deep bass wavelength to turn right angle like that.

Where I am at
I have not researched bass tube absorbers in many years. I will start a Google search as soon as I put another LP on. Please post any design links or plan links you find and which are related to this current project and the list of parts I have on hand.

Thanks everyone.
BASS-TUBE-1.jpg

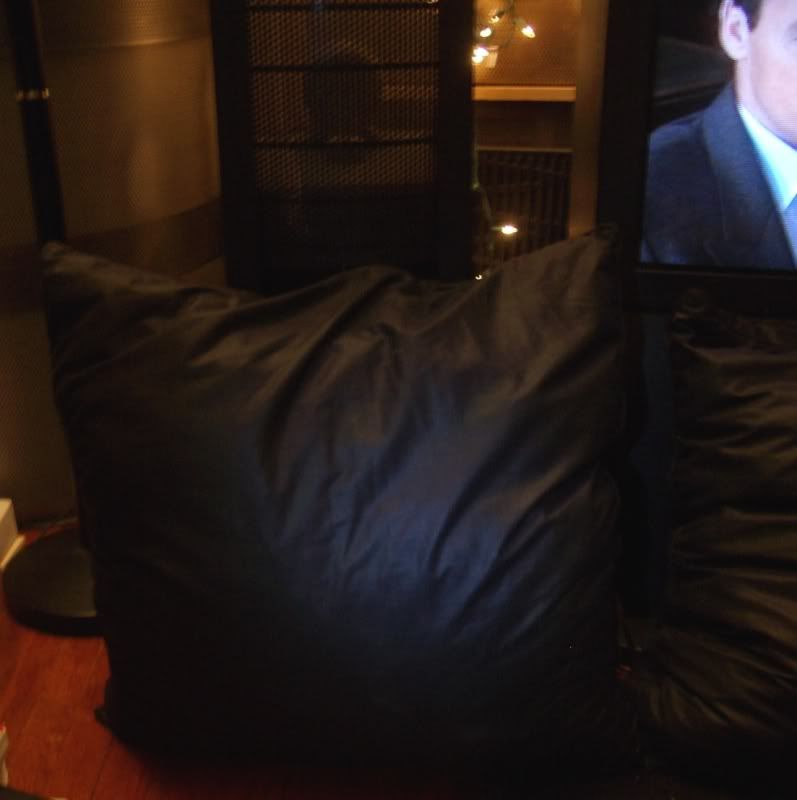
BASS-TUBE-2.jpg

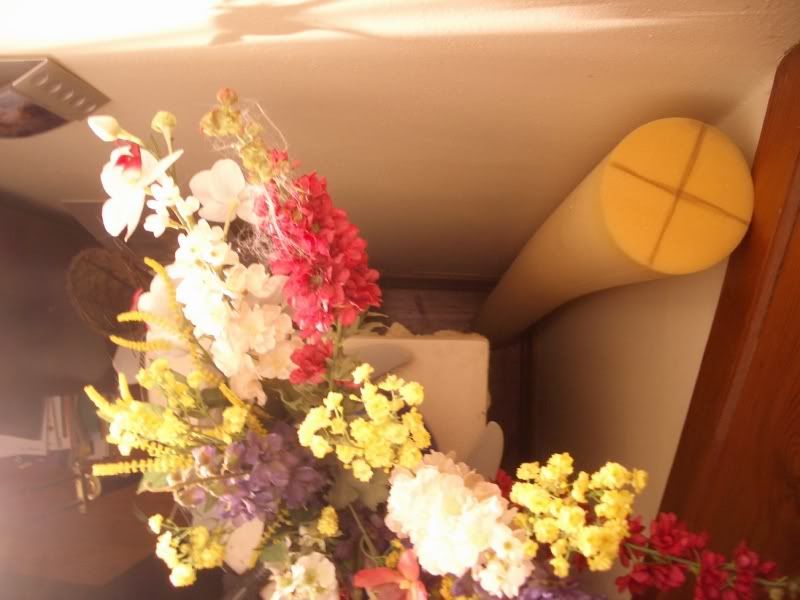
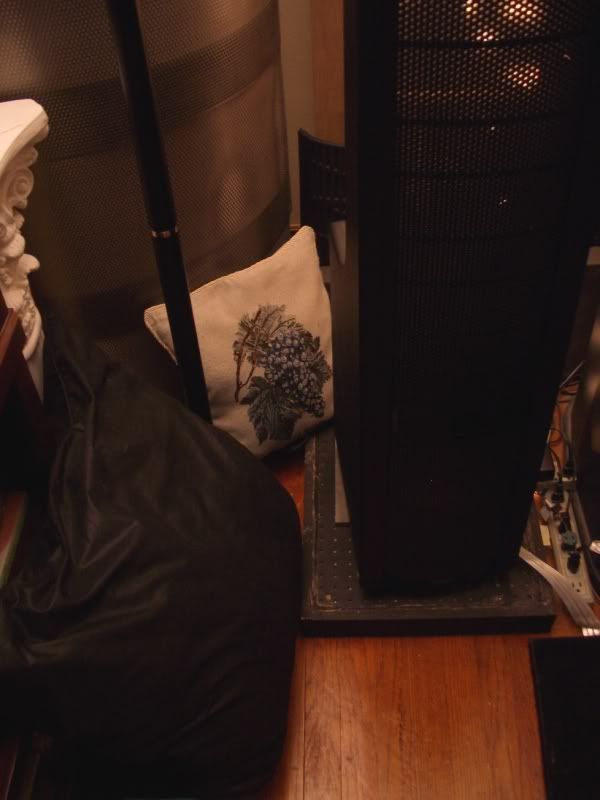
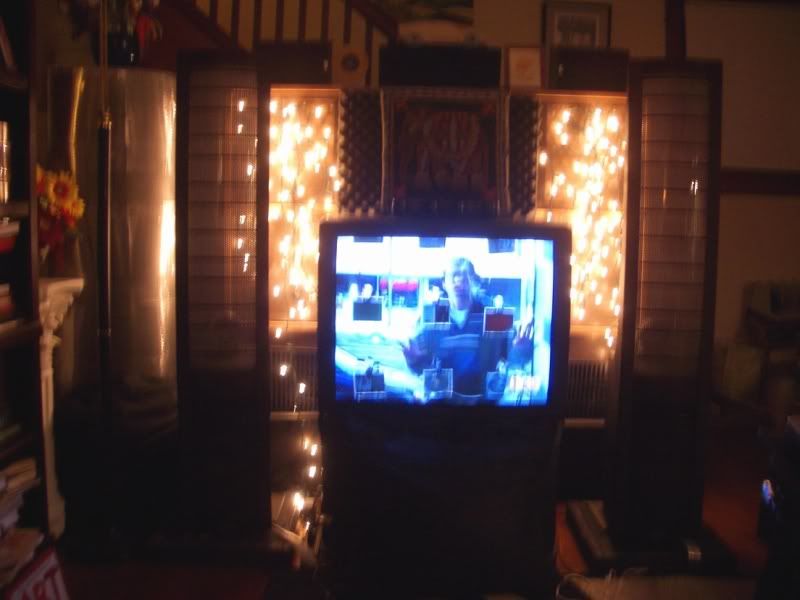
BASS-CORNER-ELEVATION.jpg

BASS-CORNER-1.jpg


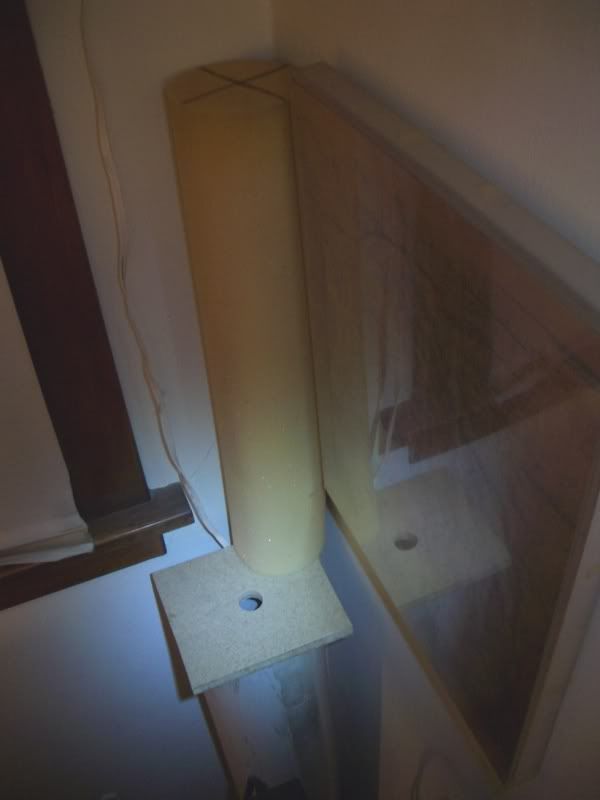
The foam tube with the "X" is where the PVC tubes will go, that is unless a better location can be recommended.
 
Last edited:
I see in your picture that you already have a pedestal near that corner. Why not just buy one of the GIK pedestal bass traps (they can make custom sizes too), and kill two birds (and bass) with one stone!

http://www.gikacoustics.com/gik_elite_pillar.html

I suspect it will be a lot more effective than the DIY PVC design.
 
i did a ton of research before i did anything to my room, i quickly deserted the tube traps because they were so expensive to DIY and you need diameters of well over 12" to get any effect at all. also i dont think the pvc will work, although i certainly could be wrong. i think you need a thinner membrane to allow the low FQ waves to penetrate with sometyhing inside to absorb the waves.

this is informative and seems to follow the conventional wisdom i found with other acoustic experts.
http://www.teresaudio.com/haven/traps/traps.html

http://home.comcast.net/~jtgale01/diy2.htm

the one thing that seems to be a uniform fact is surface area is the key to maximum absorption, so that requires a big tube to be effective. there are so many schools of thought on this subject, so read up. i eventually decided the panels were easier and more cost effective for me and i wasnt willing to lose a 20" circle of area anywhere in the room to absorb the low lows, YMMV.
 
Last edited:
.........and you need diameters of well over 12" to get any effect at all.
I know that very old churches tuned the acoustic of their spaces with stacked and mortared in place clay jars (small mouth towards the room). Filling them with different levels of ash and stone to adjust the tones and reverberation of the room. Of course the frequencies produced were limited to the lowest human singing voice or the pipe organ used.

The large surface area principal of bass control is used behind the speakers, where I hang the lights. I designed my wall there for mid and upper bass absorption because at the time my old Rotel amp did not drive the speakers as deep as my current 100 watt tube amp. The new Tung-Sol EL34 B tubes in my amp have surprised me with a new amount of deep bass.

Thank you for the links, I'm reading them.

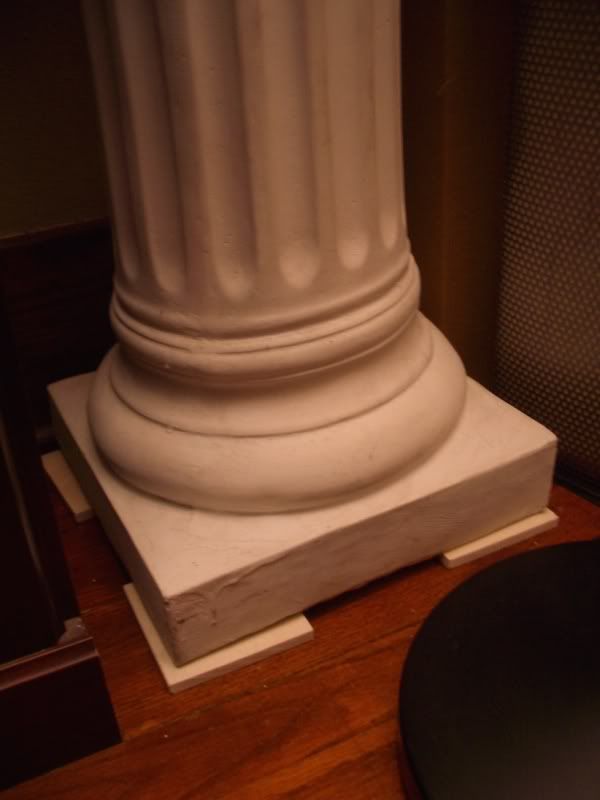
EDIT-1: I've lifted the plaster Corinthian column 1/4" off the floor. Placed under each corner a small 4x4x1/4 marble sample. Who knows, perhaps some bass energy will make it's way into the hollow column and get trapped.

Edit-2: This is interesting, thick cardboard tube, filled 3/4 of the way with sand.
http://www.diy-home-theater-design.com/bass-trap-build.html
 
Last edited:
My old can of expanding spay foam insulation refused to work. A never been used can, only about two years old. There is nine bucks I'll never seen again. My plans are on hold until I figure out what I want to do.

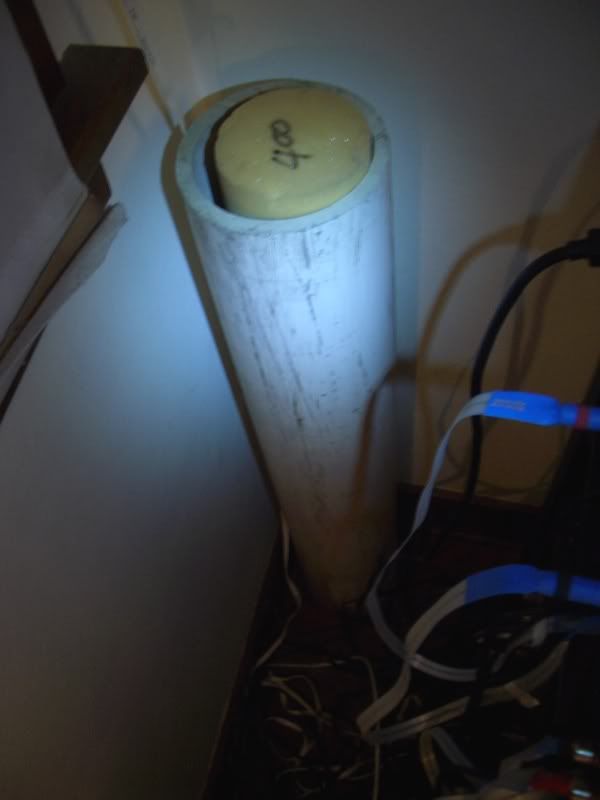
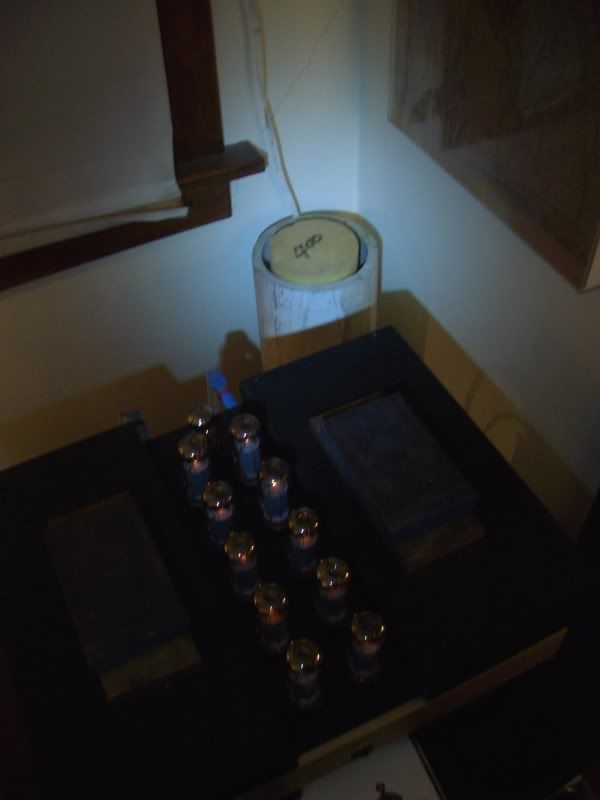
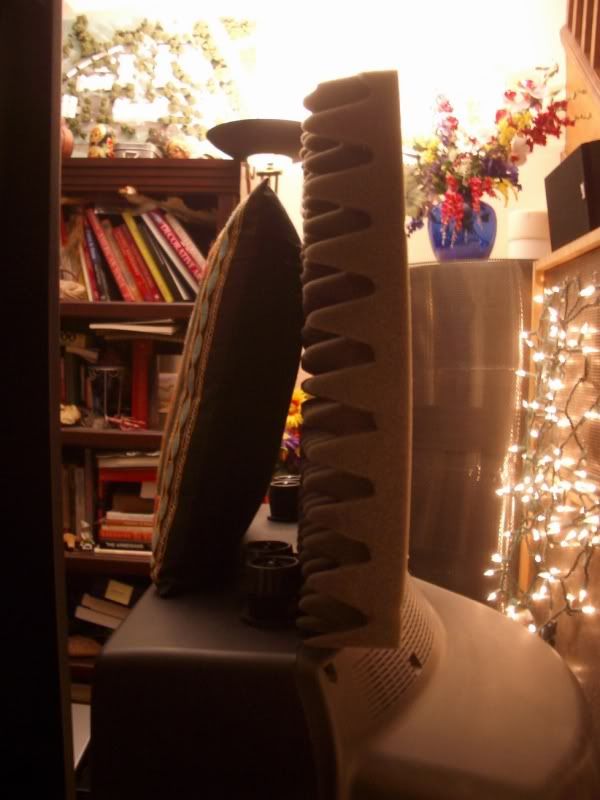
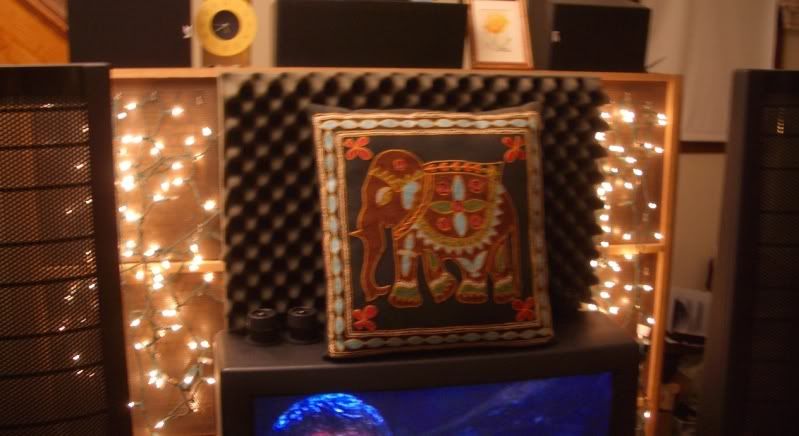
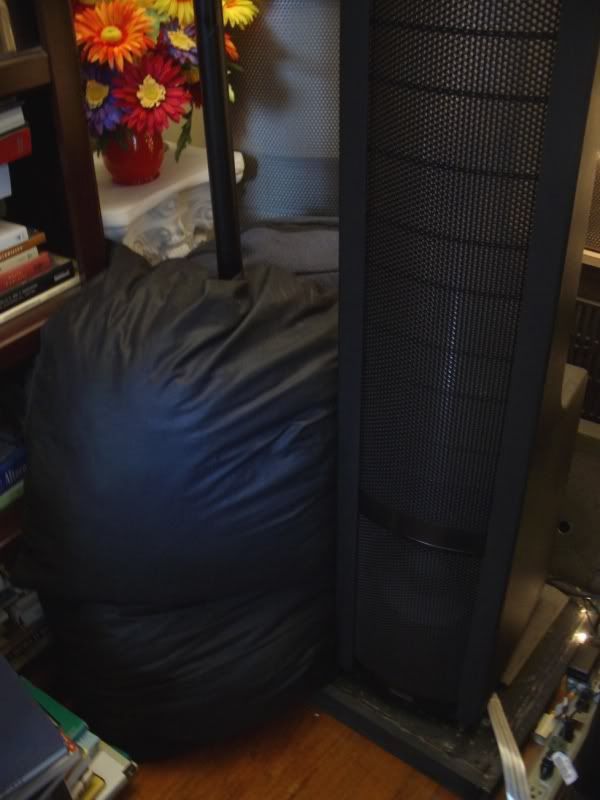
What I did tonight was put something in the rear corner behind my left shoulder. I placed some foam back there once and it seemed to make a ever so slight difference. I put the foam rubber in the short heavy wide tube, hoping sound enters the top and gets trapped.

Pictures of that corner:
TU-1.jpg

TU-2.jpg


Here is a photo of the Corinthian column base, supposed to work like the other corner, only upside down.
TU-3.jpg


Spray foam filling holes drilled and waiting to be used.
TU-4.jpg


Holes in the top for entry of sound bouncing off the ceiling, also might be used to pour sand into the tube. Will have to plug lower holes with rubber cork.
TU-5.jpg
 
Plastic tubes now stand behind quarter round diffuser in problem left front corner.
TU-8.jpg


Sounds a little crazy, but the bass shifted after all of these changes, moved from the left to center on extra heavy bass CD tracks. The bass is still too heavy on those rich CD's, you know the kind. The ones all the high-end shops keep around to demo bookshelf speakers to impress you with their bass. I think that's how I discovered Holly Cole way back when I listened to some Rogers speakers.

I stuck my head in the problem corner, I hear lots of bass, but no where near like sticking my head in a subwoofer. The left side is far more closer to the right side now, closer to being balanced (but not perfect).

This apparent improvement made me experiment a little. What if I attenuated at the source?
TU-6.jpg


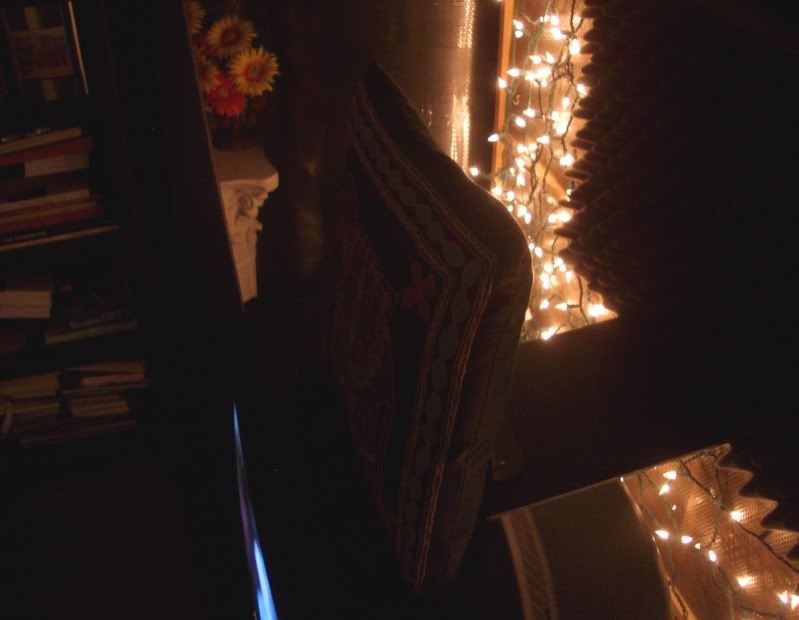
Placing a large pillow in front of the left woofer gave me an idea of what I was dealing with. Perhaps not as good of an idea as disconnecting the woofer leads from the inside, but close enough. What I learned is almost all of the excessive bass on my two test CD's (Holly Cole/Temptation and Finn Brothers/Finn) came from there. I also learned that I need bass from the left woofer to enjoy the music, odd sounding.

Prior to doing all of this I had a truck load of pillows behind the left speaker to very little affect on bass. I pulled the pillows and moved the quarter round diffuser off the wall, 9 inches off the each corner wall. Things really seemed to opened up and started to breathe then.

Now I have a large pillow off the side/front of the left speaker, and I'm liking what I hear, I heard a difference in the right direction. More balance and less boom on heavy bass tracks. I'm back to playing music, CD's; Fripp & Eno/no *****footing, Fine Young Cannibals/the raw and the crooked..................no bass issues at all.

Second pillow location.
TU-7.jpg
 
Last edited:
be careful with that spray foam, ive had a bad experience or 2 with that stuff!

this is also an interesting read from Ethan Winer an Acoustic Expert: http://www.ethanwiner.com/acoustics.html

and here is his forum which is very helpful. you can ask him about the application of the PVC tubes: http://forums.musicplayer.com/ubbthreads.php/ubb/postlist/Board/24/page/1

seemed like no matter where i poked around on the web Ethan was referenced, or was himself commenting. He is also part owner of Real Traps.
 
Looking at my resources at hand and reading the links provided; I think that modifying the large quarter round diffuser is my best bet. Even if the tubes work (sand or foam partially filled), they will not be enough alone in my opinion.

I will start by removing the perf metal and fabric to verify construction methods I used over a dozen years ago.

For it's size the quarter round diffuser is light, constructed of homasote, batt insulation, fabric and perforated metal. It was built light so that I could carry it up from the basement by myself. If I add mass to the quarter round unit I will have to work in my living room while my wife is away.

Ideas on options to modify the quarter round are welcomed.

Options include:

1. Thin layer of something on the curved part after removal of perf metal and fabric facing. Might be a layer of plastic drop cloth, aluminum foil or thin wood veneer.

2. Add a bag of play sand to the bottom for mass and bass absorption.

3. Add a layer of MDF, plywood or drywall to the flat backsides of the unit thereby covering the lighter density homasote.

4. Remove some of the batt insulation to create a larger air cavity resonator volume in the unit.

I need some more ideas:

EDIT: back to the tube idea for a minute, it has a name:

Helmholtz Resonant Absorber
http://www.audioholics.com/educatio...t-absorber/helmholtz-resonant-absorber-page-2
image_preview


First found here, middle of page:
http://home.comcast.net/~thomasw-2/SubwooferSetupandEQpage9.html
 
Last edited:
UPDATE: 12/08/2009

I found a way to remove the caps from the tube, just tap upward all around with a hammer. There were 4" tubes inside the 6" tubes, good thing I did not foam them into place.

I drilled the 5/8" hole in the top out to a full 1" diameter. Then filled the tall tube with 12" of sand, and the shorter tube with 9". The little holes in the sides were sealed with plastic automotive plugs, air tight seal.
TU3.jpg


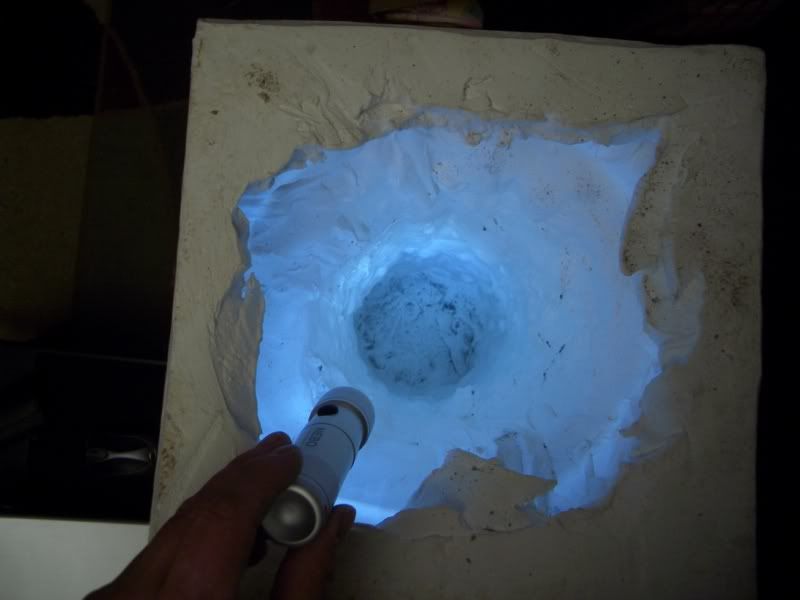
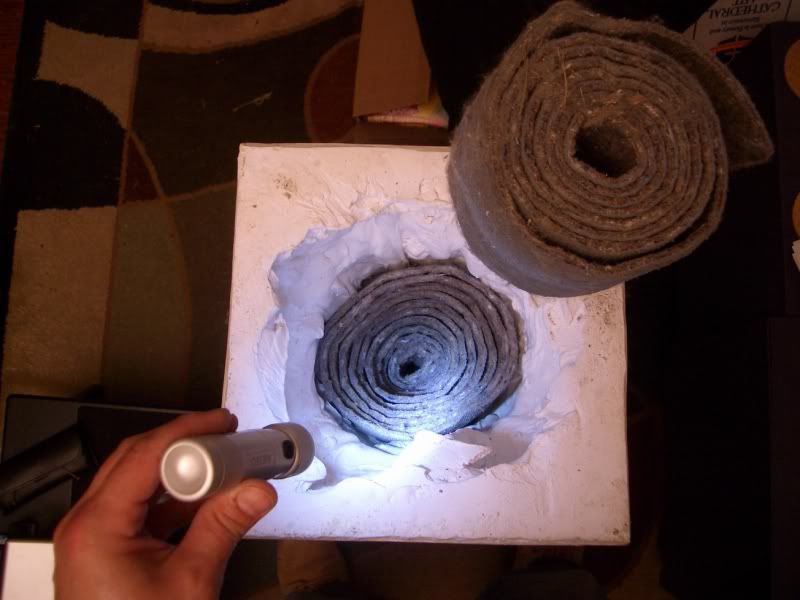
The short and heavy 7" fiber reinforced tube sitting on the floor I capped with MDF (caulked to cap) and provided a 1" hole. I tossed in a 8" high roll of carpet underlay padding as insulation which fell to the bottom of the tube. I also turned off all the lights at night and pointed a powerful LED flashlight inside the tube, no light leakage at the bottom, hoping no air leakage either.
TU4.jpg


The plaster Corinthian column was also modified with carpet underlay material in an attempt to turn it into an inverted bass trap.
TU1.jpg

TU2.jpg


All the hooting into, noise making and seat of the pants reverb testing of the tubes lead me to think there would be a huge improvement. The improvements to the room acoustics were subtle, but there.

The most recent improvement was playing with the pillows again. Maybe I'm dampening the side of the woofer cabinet. Maybe I'm forming a bass trap with the corner walls, what ever it is it's tamed the excessive bass on bass rich CD's like the Finn Brothers first track.
TU5.jpg
 
George, have you considered making tube traps per the Jon Risch design?
Looks like his Geocities site is gone forever, but descriptions of his "simple tube" suggest that it is rolled up batt insulation from the store, stacked and duct taped together and then covered with cloth. There is mention of a chicken wire option, not sure of the detail, could not find diagrams of anything.

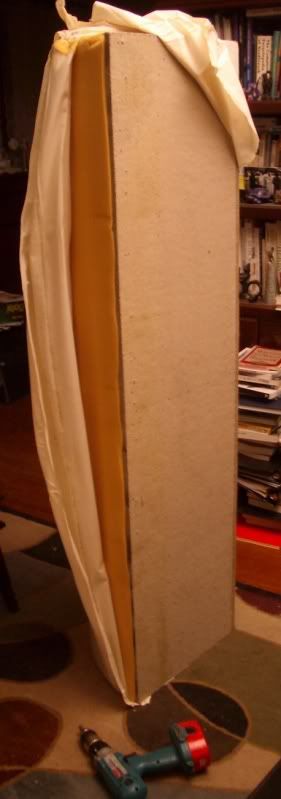
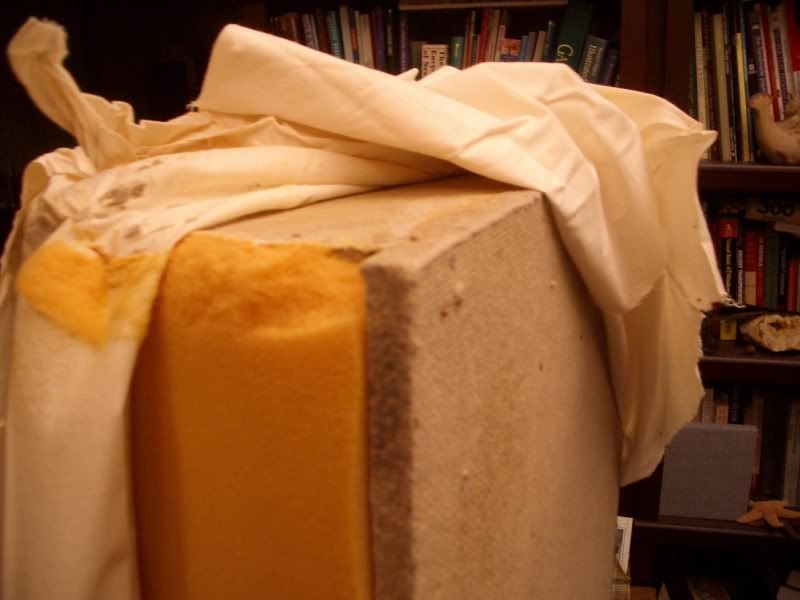
My homasote backed quarter round was found to be stuffed to the max with batt insulation, a sponge rubber foam layer covered with fabric (evidence of spray mount) for the face. This is similar to the Jon Risch design in theory, but in practice the form and materials differ a little. I need something better, something more.

Picture with perf metal removed and fabric layer peeled back.
QR0.jpg

QR1.jpg


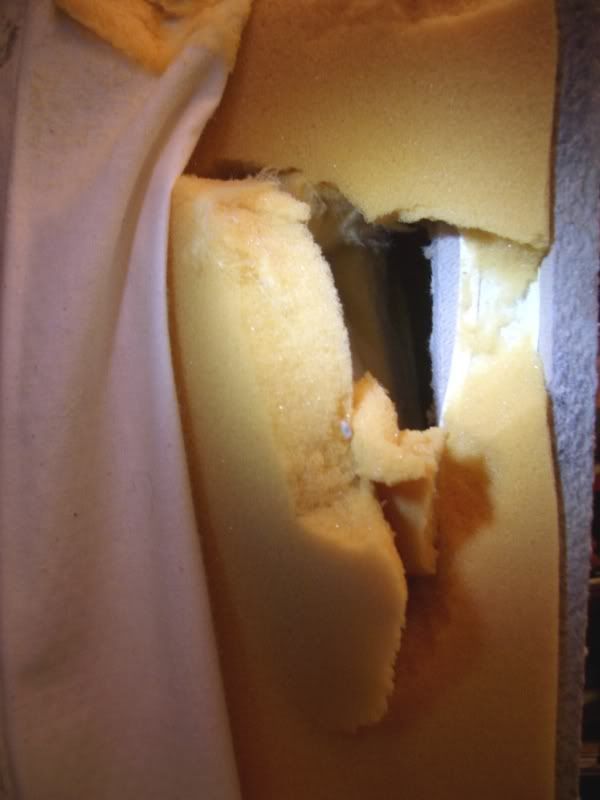
Detail of foam rubber and batt stuffing shown pushed back a little.
QR2.jpg


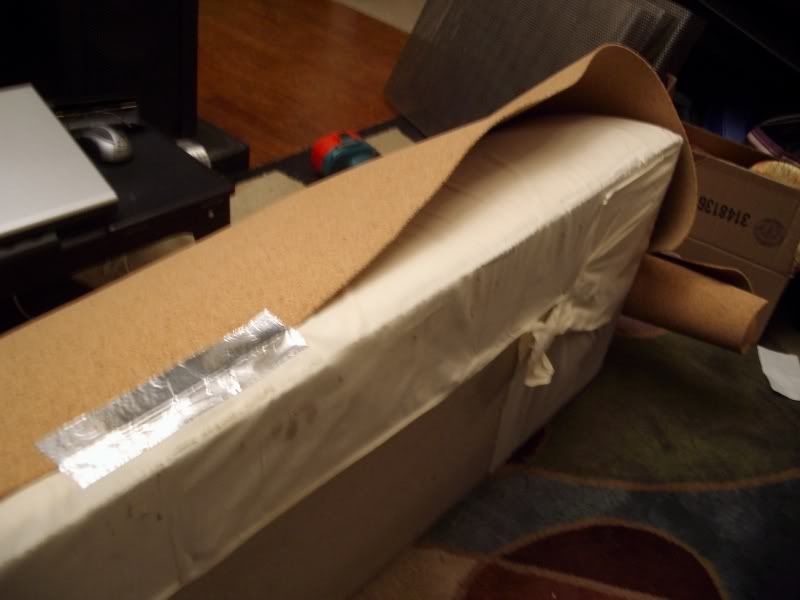
I installed a sort of membrane, have read that the thicker it is the lower the frequency it will attenuate. I just cleaned out my basement of some junk for this part of the project, 1/4" plywood would have been my first choice. Shown is a layer of natural cork, too old for anything else.
QR3.jpg


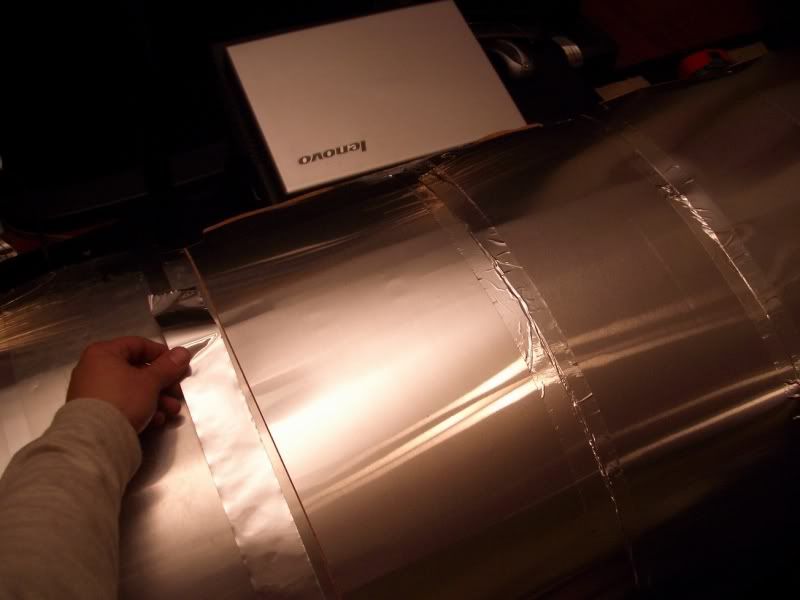
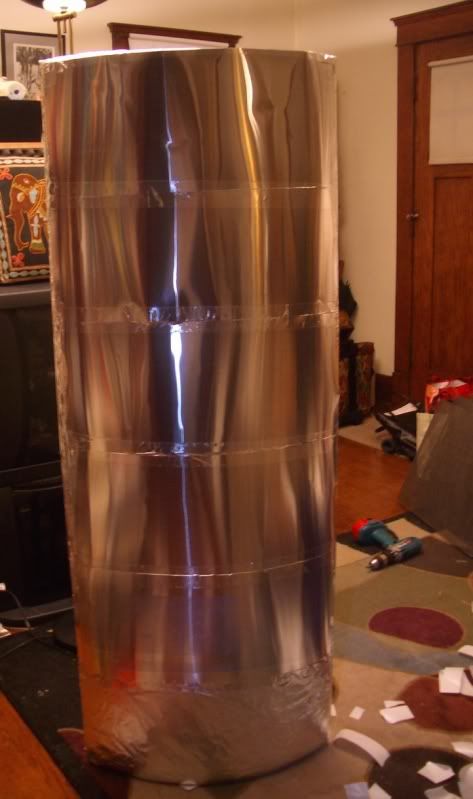
I then used up a roll of aluminum flashing. It was really thin and I fell short, so the lower 10 inches is four layers of aluminum foil. It is aluminum foil taped all around and at all joints.
QR4.jpg
 
Looks like something NASA would send into space.:D
QR5.jpg


I screwed back on the outer perforated metal layer and repositioned it in the corner.
QR6.jpg


I played the Finn brothers real loud, crossed the threshold I wanted to, kicked that bass way down. Put my head back there, almost no difference between the corner placed speaker near field/rear field bass and the right one in the middle of the room. Holly Cole's voice really pops when not competing with the bass output.


I still had to put a pillow back there for best results, covers over the lower section which is only multi-layers of alum foil.
QR7.jpg
 
Last edited:
Perhaps the best thing to come out of all of this DIY acoustics stuff is the pillow above the TV held up with a bookend. The center image and depth of recording really came alive.
QR8.jpg
 
Looks like his Geocities site is gone forever, but descriptions of his "simple tube" suggest that it is rolled up batt insulation from the store, stacked and duct taped together and then covered with cloth. There is mention of a chicken wire option, not sure of the detail, could not find diagrams of anything.
Yeah, too bad about that. I did see the diagrams of the chicken wire option. You cut circles of wood for the ends and make a cylinder using the circles and chicken wire. You also have a circle in the centre for strength; the circle has a hole in the centre to equalize pressure. Then wrap fibreglass around the cylinder, using liquid nails to glue everything together.

You then wrap more chicken wire around the fibreglass to hold it in place. Cover that with batting and then acoustically transparent material.

There are also larger circles on the ends, glued to the ones already there, to hold everything in place and neaten it all up.
 
All your experimenting is really a shot in the dark if you do not have any proven plans to go by... There is a good amount in the acoustics section of this forum. I have build (on the recommendation of several people here and on other forums) 2 floor to ceiling, 6" thick Fiberglass Bass traps with great results... I have a detailed write up in the forum with pictures fyi. Good luck, when you finally build something that works, you will be amazed by the improvement! Acoustical treatments are so underrated often!
 
I have a detailed write up in the forum with pictures fyi.
I will look for the thread, always room for improvement.

The biggest thing in the way of great sound is the TV, my latest attempt to get around it - see photos below.

AC1.jpg

AC2.jpg


There is more air and better center stage, but I know that it is not idea.

EDIT: I've seen those links before, the quote is a good description.

Basically the idea is to cut up mineral fiber panels and make a stack in the corner to build a giant wedge of absorbent.

I think that a skin of thin plywood (or sheet metal or fiberglass sheet) added would turn such a broad mass absorber into a lower frequency absorber. I had made a broad mass corner absorber years ago (1/4 round), and turned it into a lower frequency absorber with an addition of an aluminum skin.
 
Last edited:
Here is the thread that talked about building the bass traps...
http://www.martinloganowners.com/forum/showthread.php?t=8483

I ended up fabricating 2 floor to ceiling traps with metal corner bead, fiberglass boards (actually boxes of 4'x2' ceiling tiles with the white plastic coating removed, covered in acoustically transparent cloth. Turned out pretty nice and my wife did not notice them for 3 months! They blend in pretty well as the wall where the screen hangs is also painted black.
Well worth the time (and little $) spent!
 

Latest posts

Back
Top